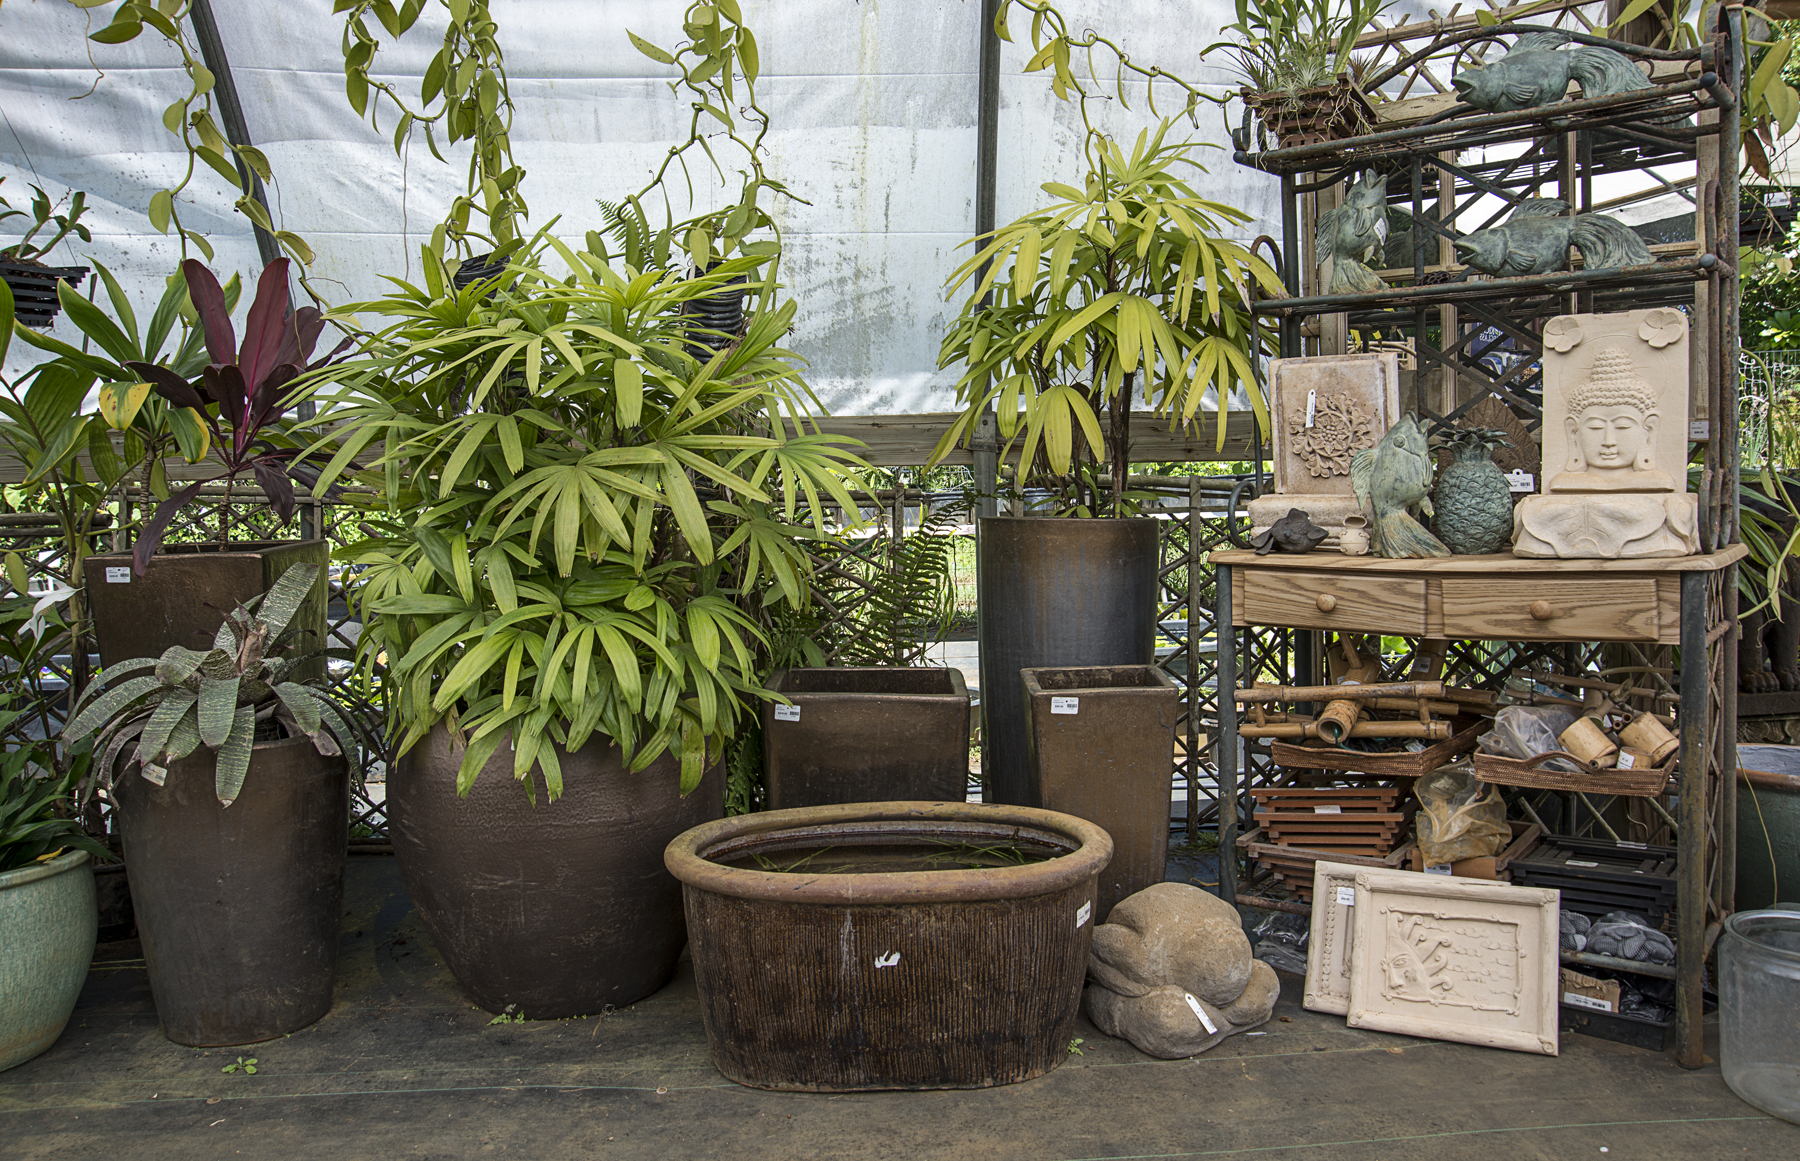
Note: If your pot has holes at the bottom, be sure to seal the holes with Hydraulic Cement. For the how to guide, click the following link:
How to Seal a hole in a Ceramic Pot
Materials Needed:
Thuroseal, Acryl 60 Concrete Adhesive, Concrete Dye, Concrete Brush, Drill & Cement Mixer Bit (Or Mixing Stick), and a Wet Wash Cloth.
Coverage Ratio:
5oz glue, 4Tbsp of powder dye, 4 heaping cups of thuroseal for one coat for an approximately 80 gallon pot.
Prepping:
Clean pot of any dirt to provide the best bonding surface.
If your pot has a heavy glaze on the inside of the pot, you may need to “roughen” the glaze using a wire brush. The rough surface will allow for better adhesion.
Mixing:
Step 1: Mix 1 part concrete adhesive with 3 parts of water using either your drill mixer or your mixing stick.
Step 2: Add concrete dye to glue mixture and mix until desired color is achieved.
Step 3: Slowly pour the glue mixture into the Thuroseal, mixing while you pour. Mix the Thuroseal until it is a “Pancake Batter” consistency. Add additional water if the mixture is too thick, or additional Thuroseal Masterseal, or Superseal if the mixture is too watery.
Application:
Step 1: Dampen the inside of the pot, as Thuroseal adheres better to a wet surface. Wipe out any puddling water in the bottom of the pot.
Step 2: Using your concrete brush, apply the Thuroseal in a circular pattern, starting at the bottom of the pot and working your way up to the top. Keep your wet wash cloth handy to wipe off any Thuroseal that gets on the rim or the outside of the pot.
*Hint: For the first coat, it is a good idea to not coat the top 10% of the pot to avoid color matching issues* with the finish coat
Step 3: Allow the first coat of Thuroseal to dry for 24 hours before applying second coat.
Step 4: For the second coat, repeat the entire process, this time sealing the pot all the way to the rim.
*Hint: Use blue painter’s tape around the base of the rim to keep a clean rim and establish a solid line all the way around the pot.*
Rinse Cycles:
Wait 2 days after the second coat before you start the rinse cycles for the pot. The rinse cycles help to neutralize the PH and the lye that is present in the concrete mixture. Neutralizing the PH is key to sustaining a healthy ecosystem in your pot.
Step 1: Brush the inside of the pot with one cup of white vinegar for a small pot and two cups for larger pots then fill the pot with water, or second option add 1 pound of Rock salt to the pot and fill the pot with water.
Step 2: Allow water with vinegar or salt mixture to sit for 24 hours. After the 24 hours, empty out water mixture.
Repeat step 2 once more, again waiting 24 hours before you empty out the water.
Hint: An easy way to empty a pot is with a siphon watch video here.
Finally, rinse the pot with fresh water to remove any excess vinegar or salt.
Congratulations! You have successfully sealed your ceramic pot! Tell us below about your experiences and thank you for checking out Garden Ponds Kauai be sure to sign up for our newsletters to find out for great tricks and to see what we are up to!
